Your Bourse Platform User Guide
The Custom Profiles
Custom profiles enable the creation of distinct configurations to be utilized during specific time periods. The platform supports the generation of numerous profiles. To establish a new profile, simply select the "Clone" button, which will produce a new profile with the same parameter values

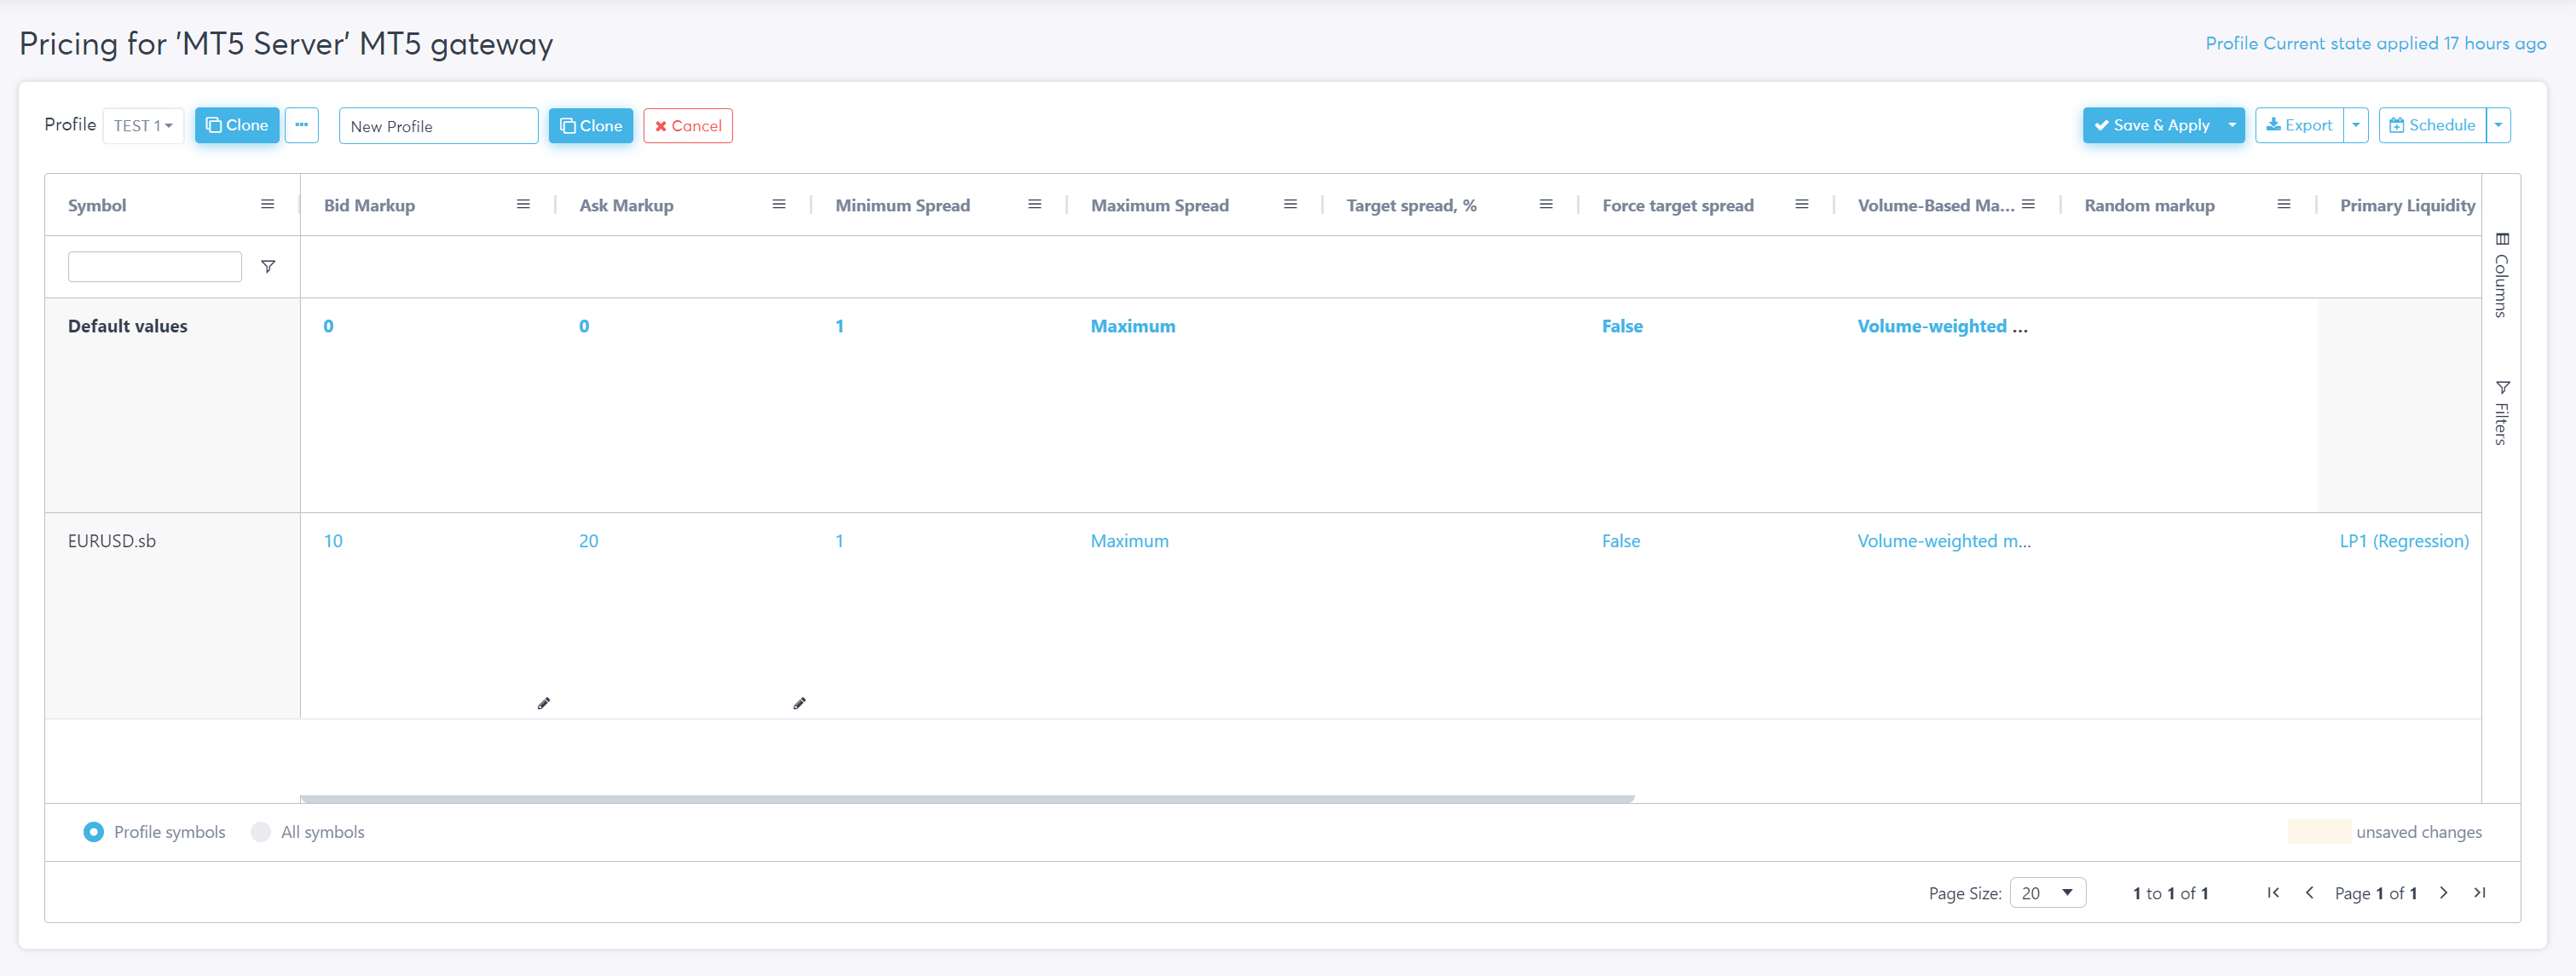
The new profile name can be typed into the search bar and clicking the “Clone” button again will confirm its creation. The “Cancel” button will revert this creation.
Once a new profile has been created it can be accessed be clicking the profile button. A drop down menu is opened with a list of all the created profiles. The user can access specific profiles by selecting them.

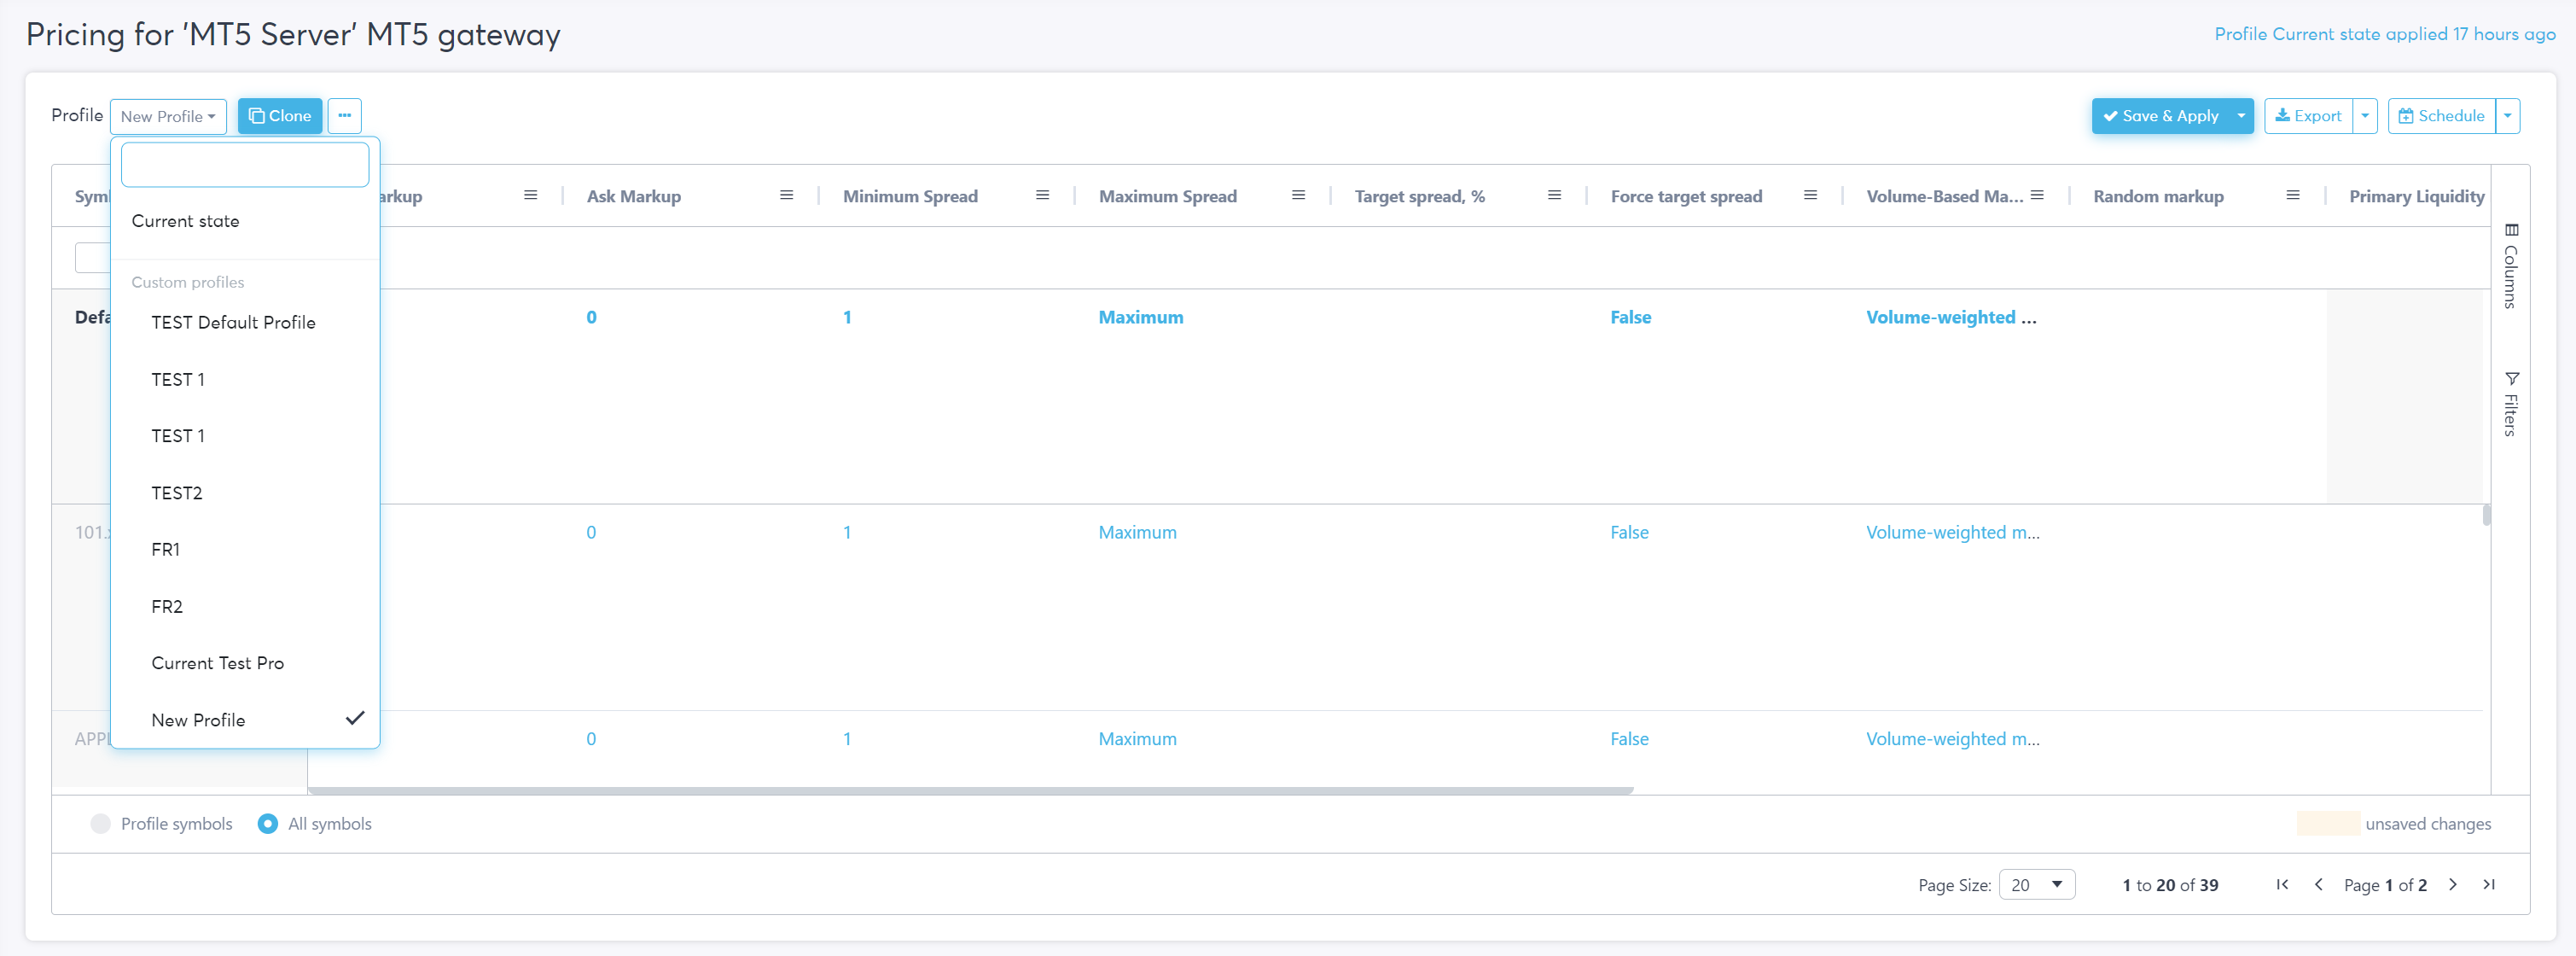
Specific profiles can also be searched for using the search bar.
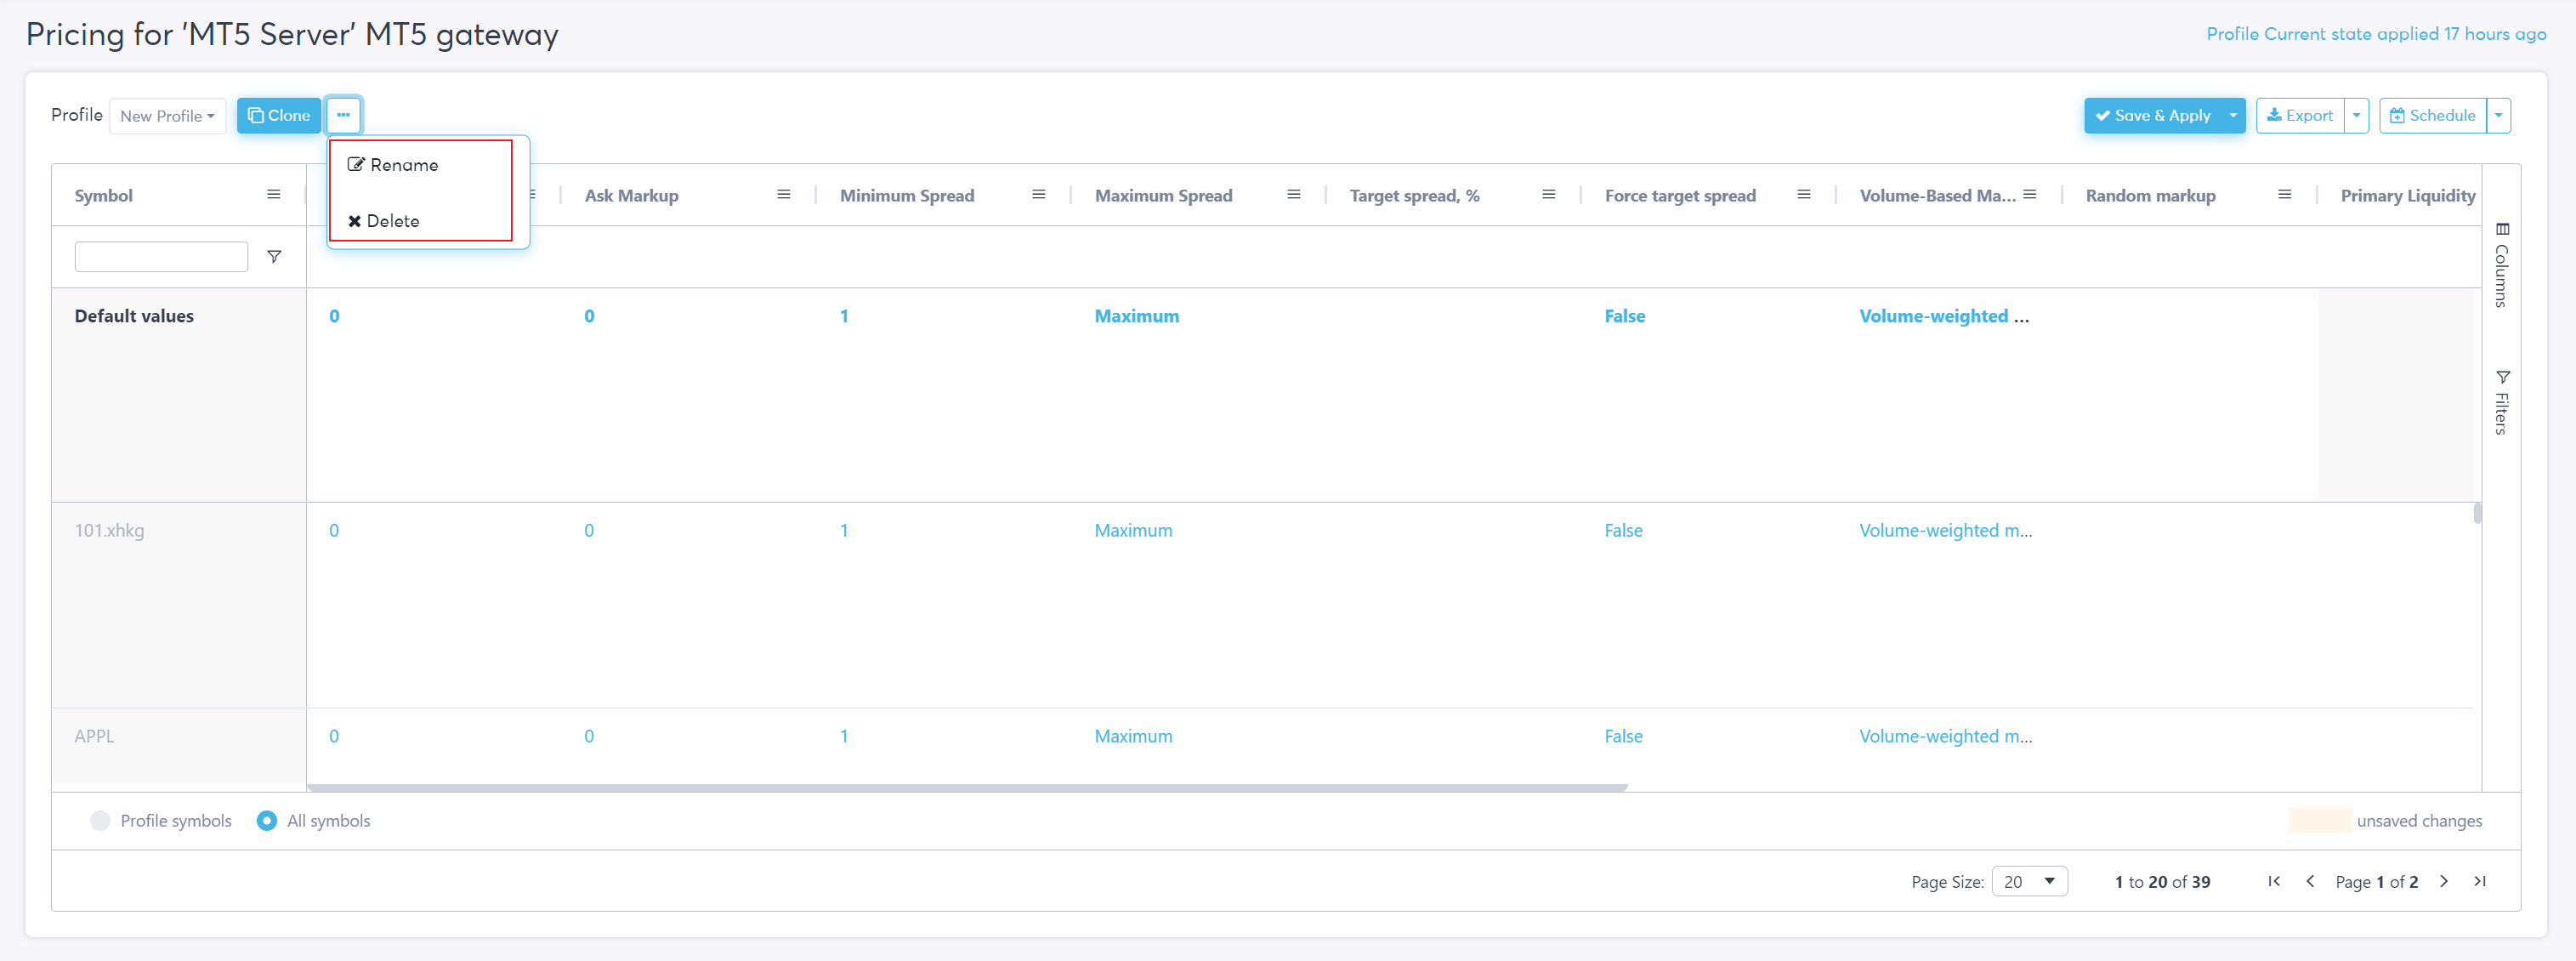
Profiles can also be deleted or renamed by clicking the three dot button and then selecting “Delete” or “Rename”.

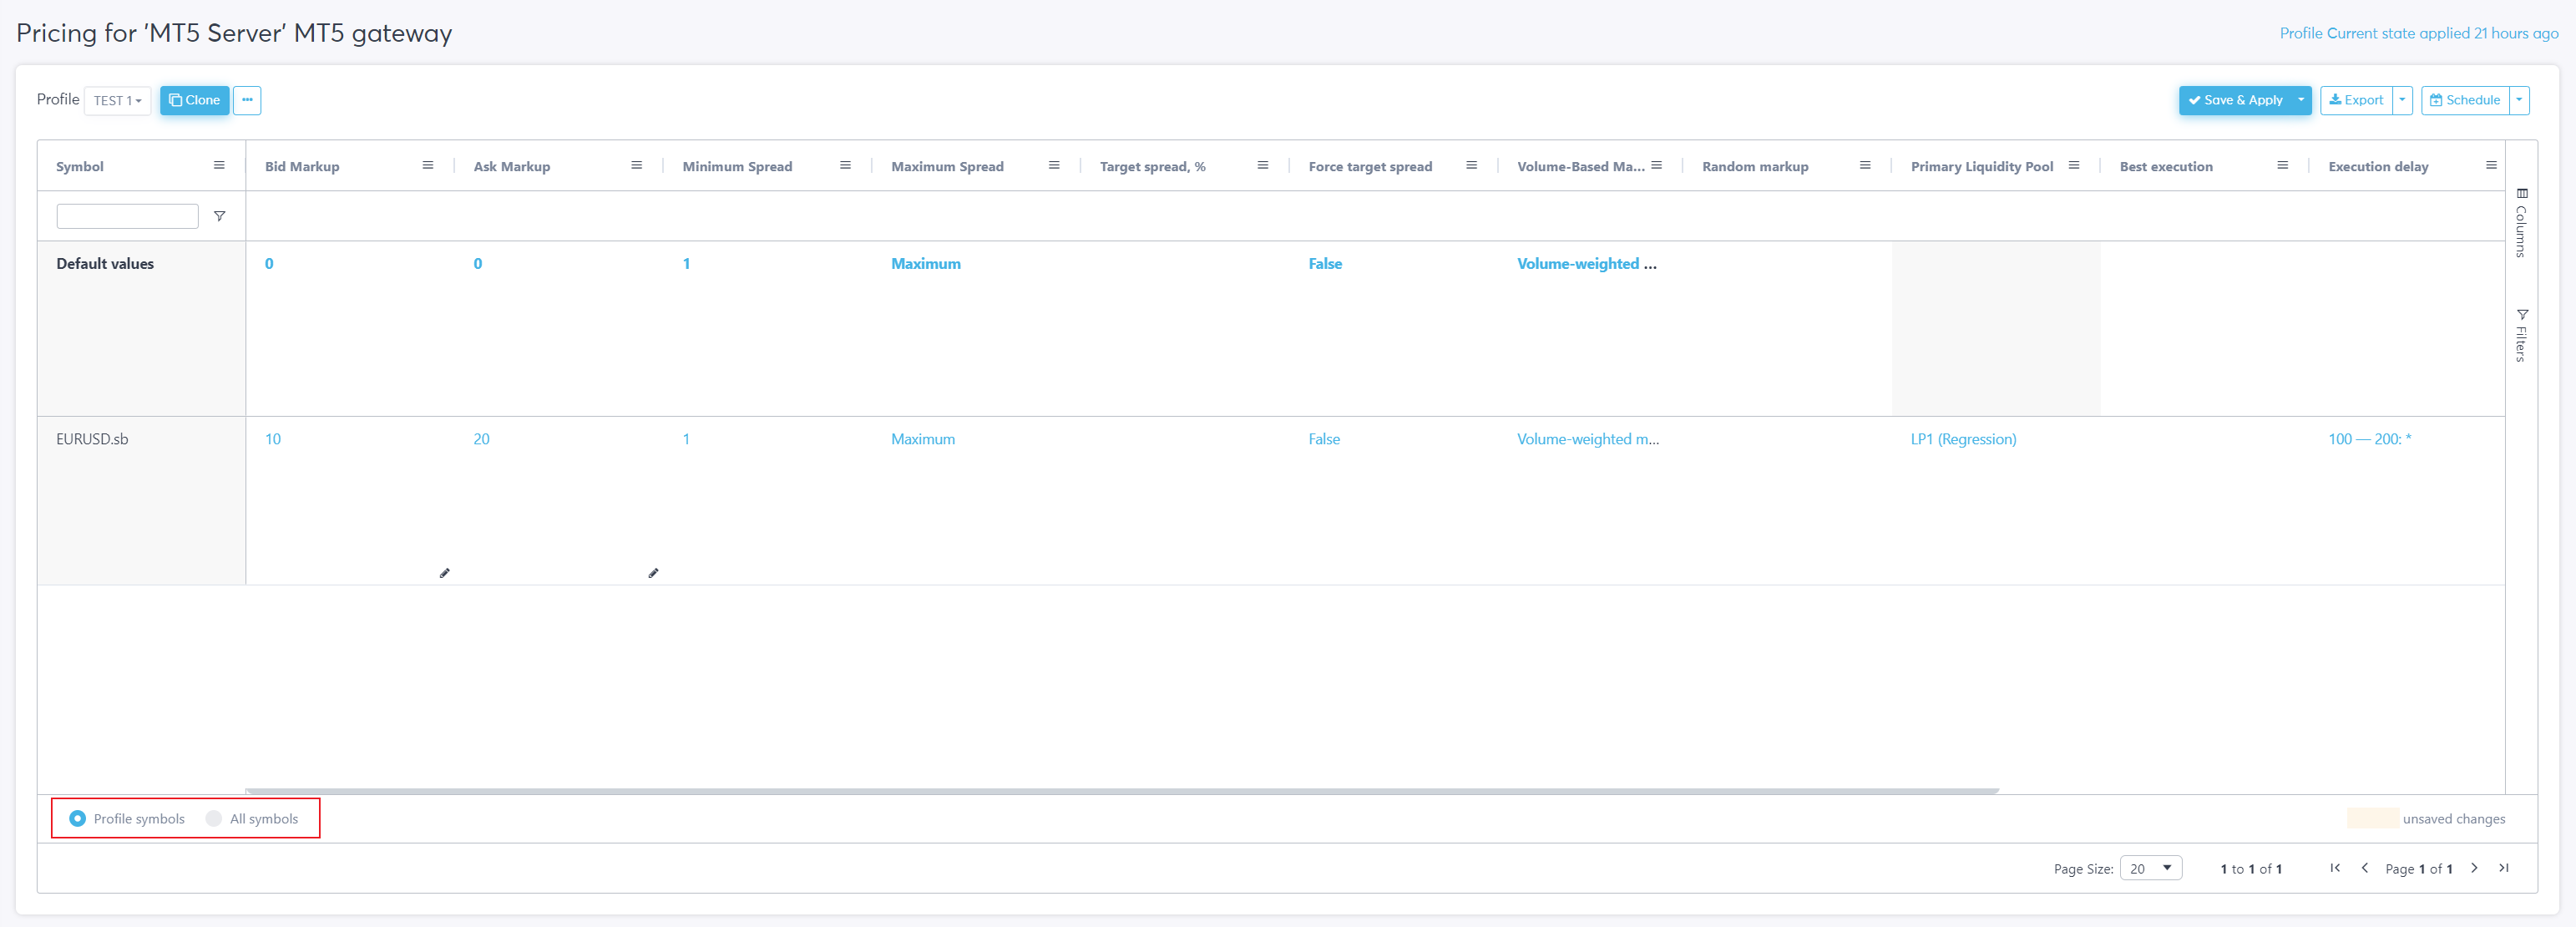
"There are radio buttons labeled "Profile symbols" and "All symbols" which allow users to toggle between the symbols configured for a specific profile and all the symbols available on the YourBourse platform."

Schedule, Export and Save & Apply of the Custom Profiles
There are three more features of the main table. The “Save & Apply” button saves changes for the current profile and applies them in real time to the current MT4 bridge and MT5 gateway configuration.
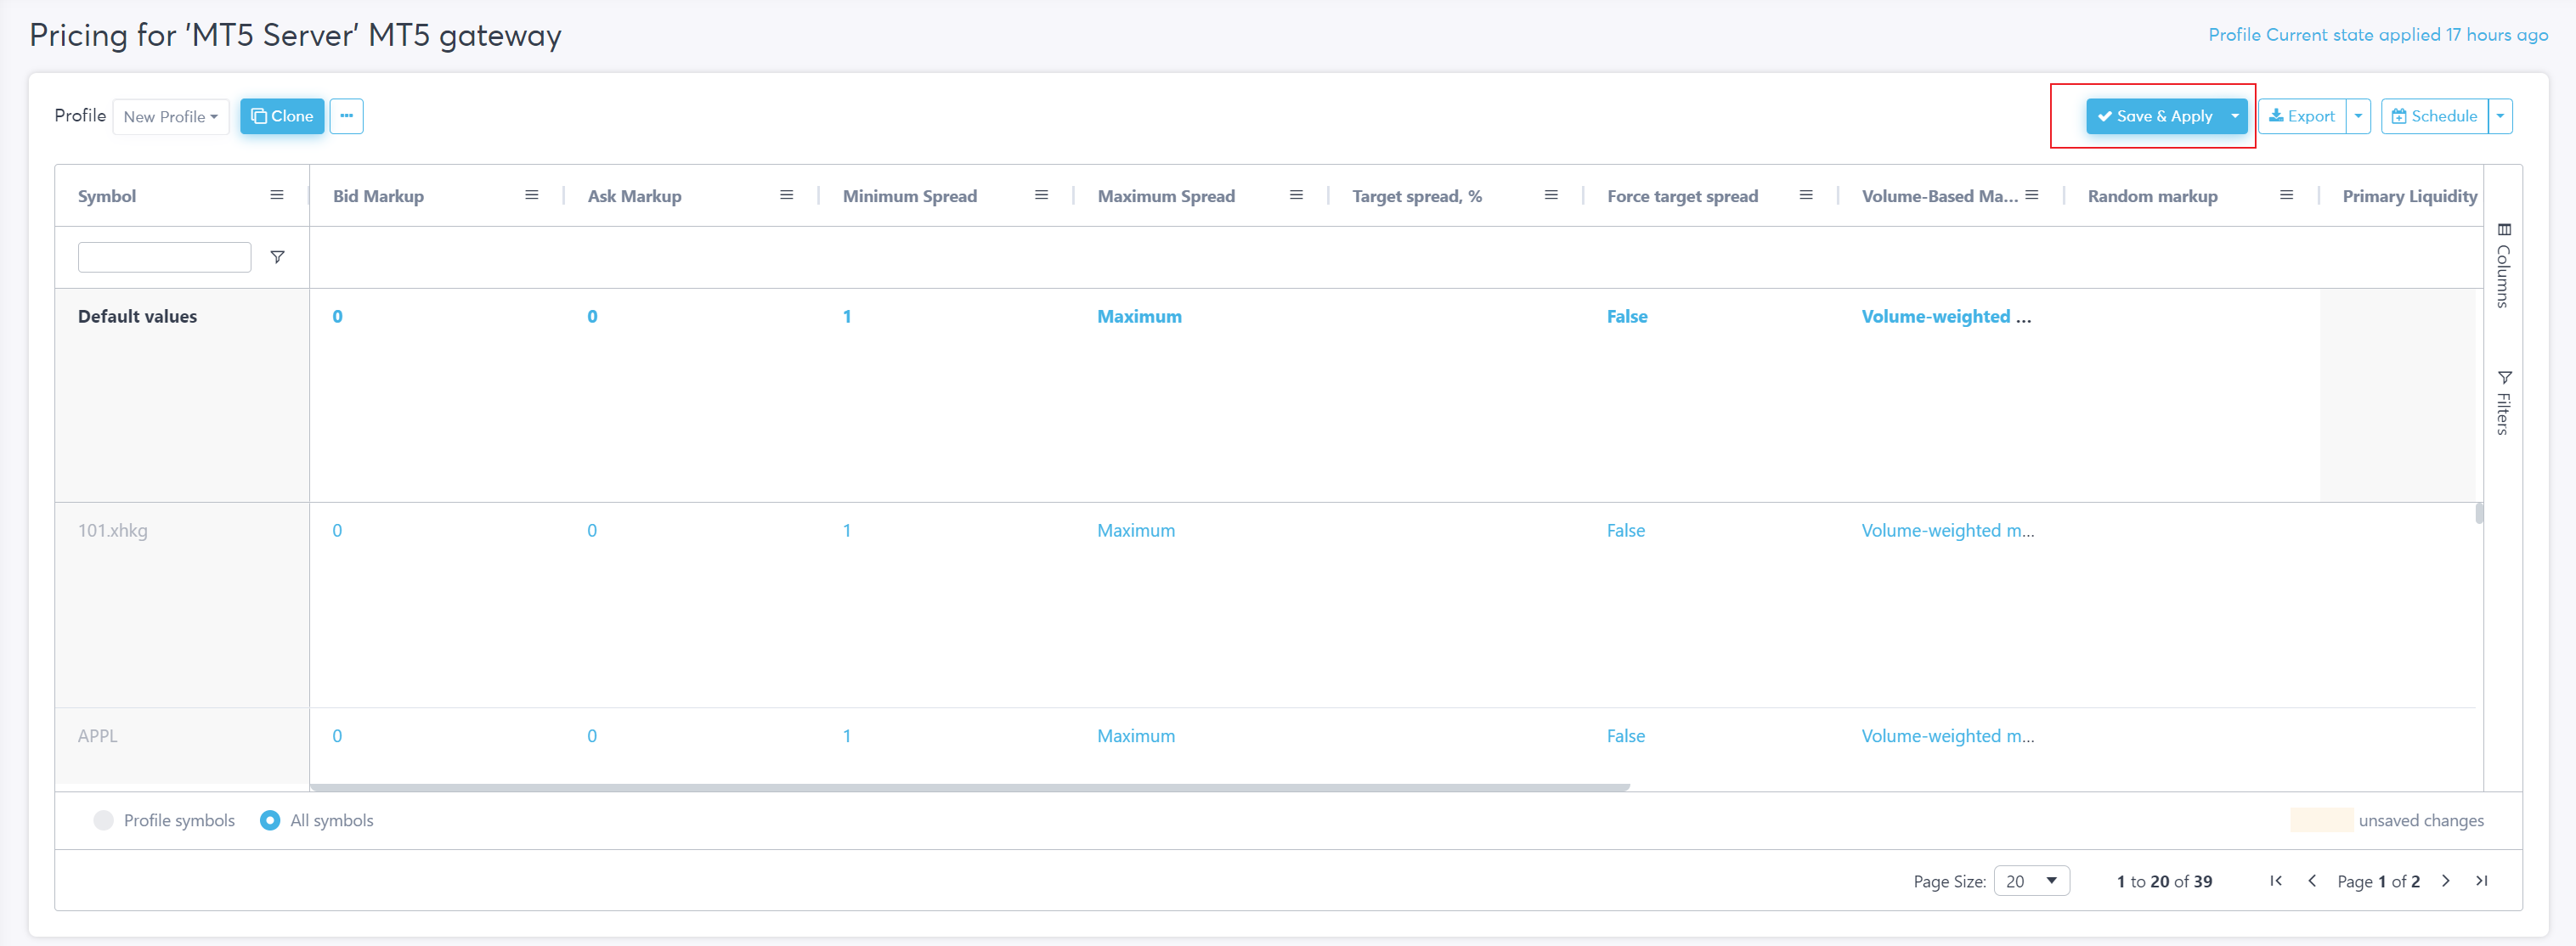

If the upside down triangle, next to the Save & Apply button, is pressed an option to “Reset profile to Current configuration” is presented. By selecting this button the chosen profile will change its parameters to match the current MT4 bridge and MT5 Gateway configuration E.g. if the current configuration has an ask markup of 100 bits then clicking the button would change the profiles ask markup to 100.
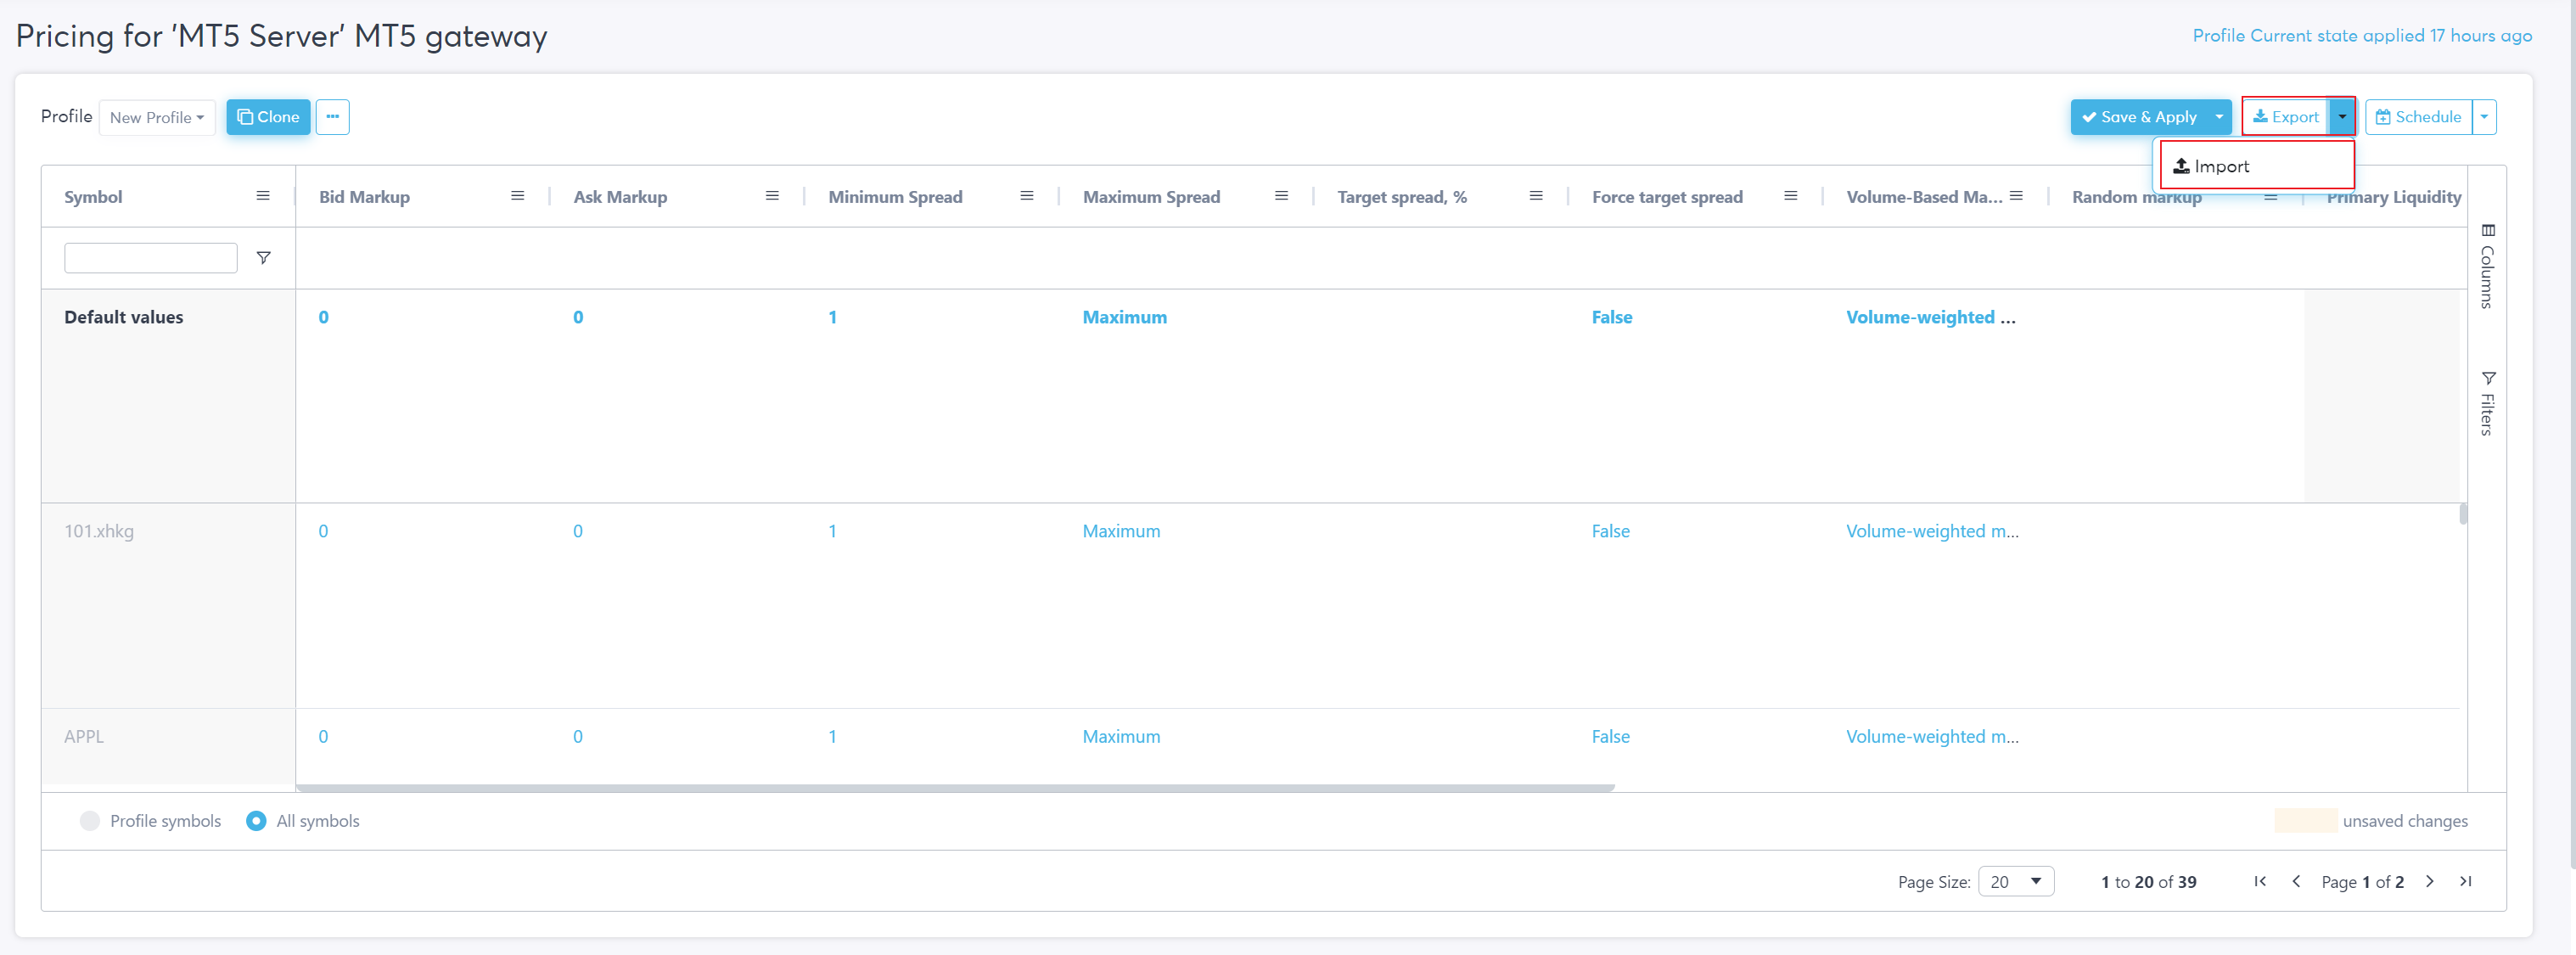
The “Export” button exports an excel file of the profile to the users computer. Being exported, an Excel file will be downloaded containing the symbols and configurable parameters. The file has several tabs with different parameters (“Parameters“, “Taker symbols“, etc.).

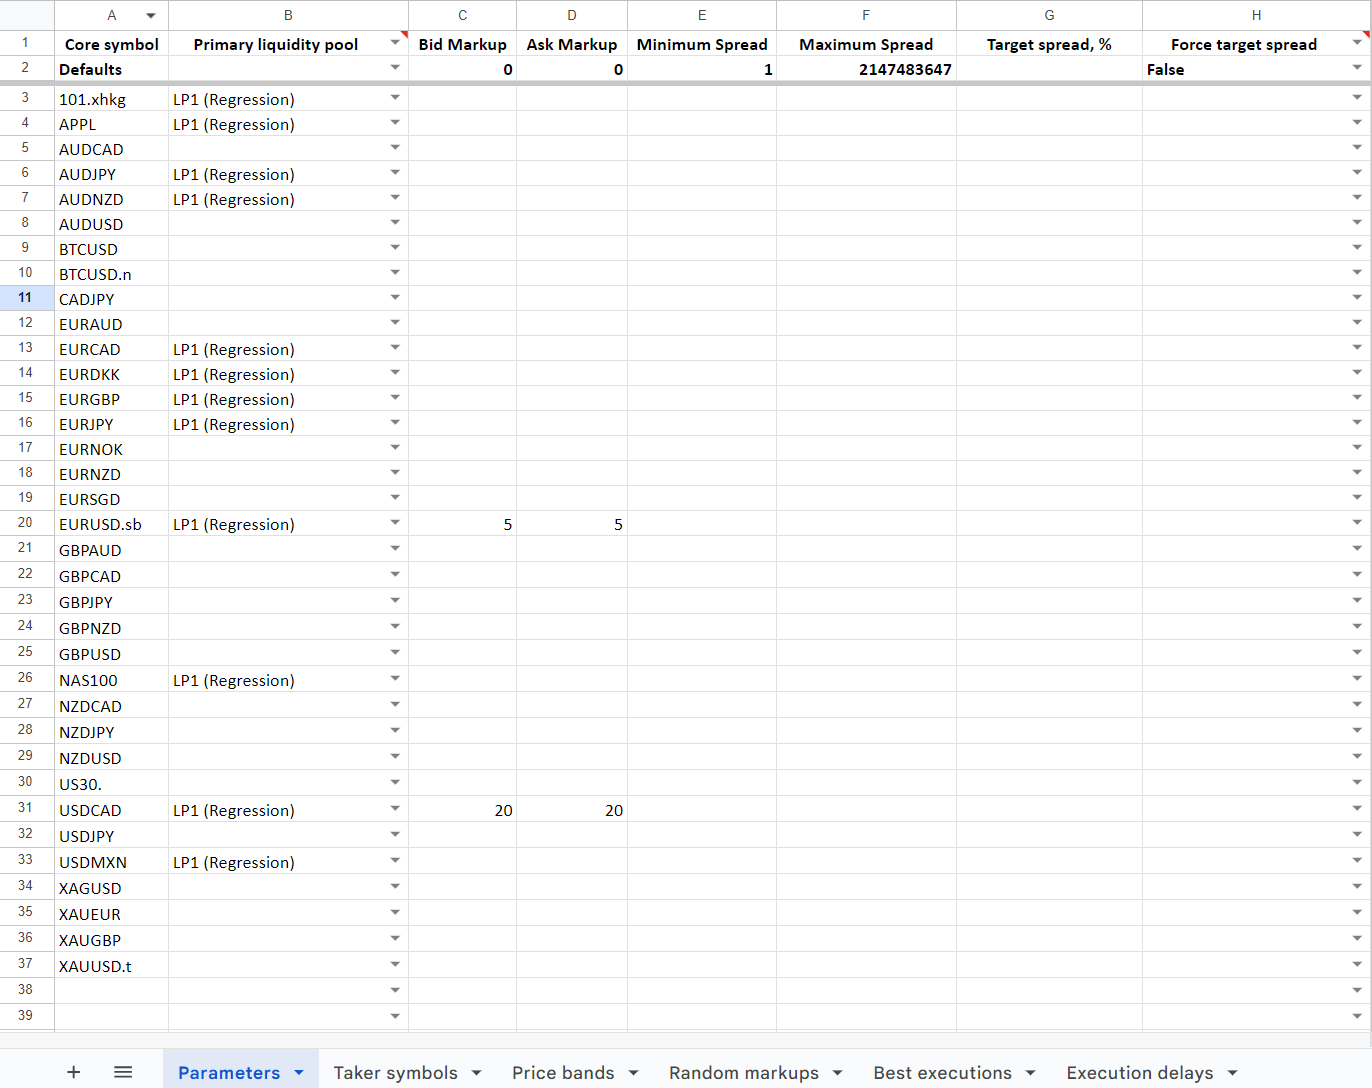
Similarly by selecting the upside down triangle an “Import” option is shown that when selected allows the user to import parameters in the form on an excel file.

The “Schedule” feature can be used to schedule times that the profile, or multiple profiles, can be applied for. For example clicking the button will open a new window where scheduling information can be configured.

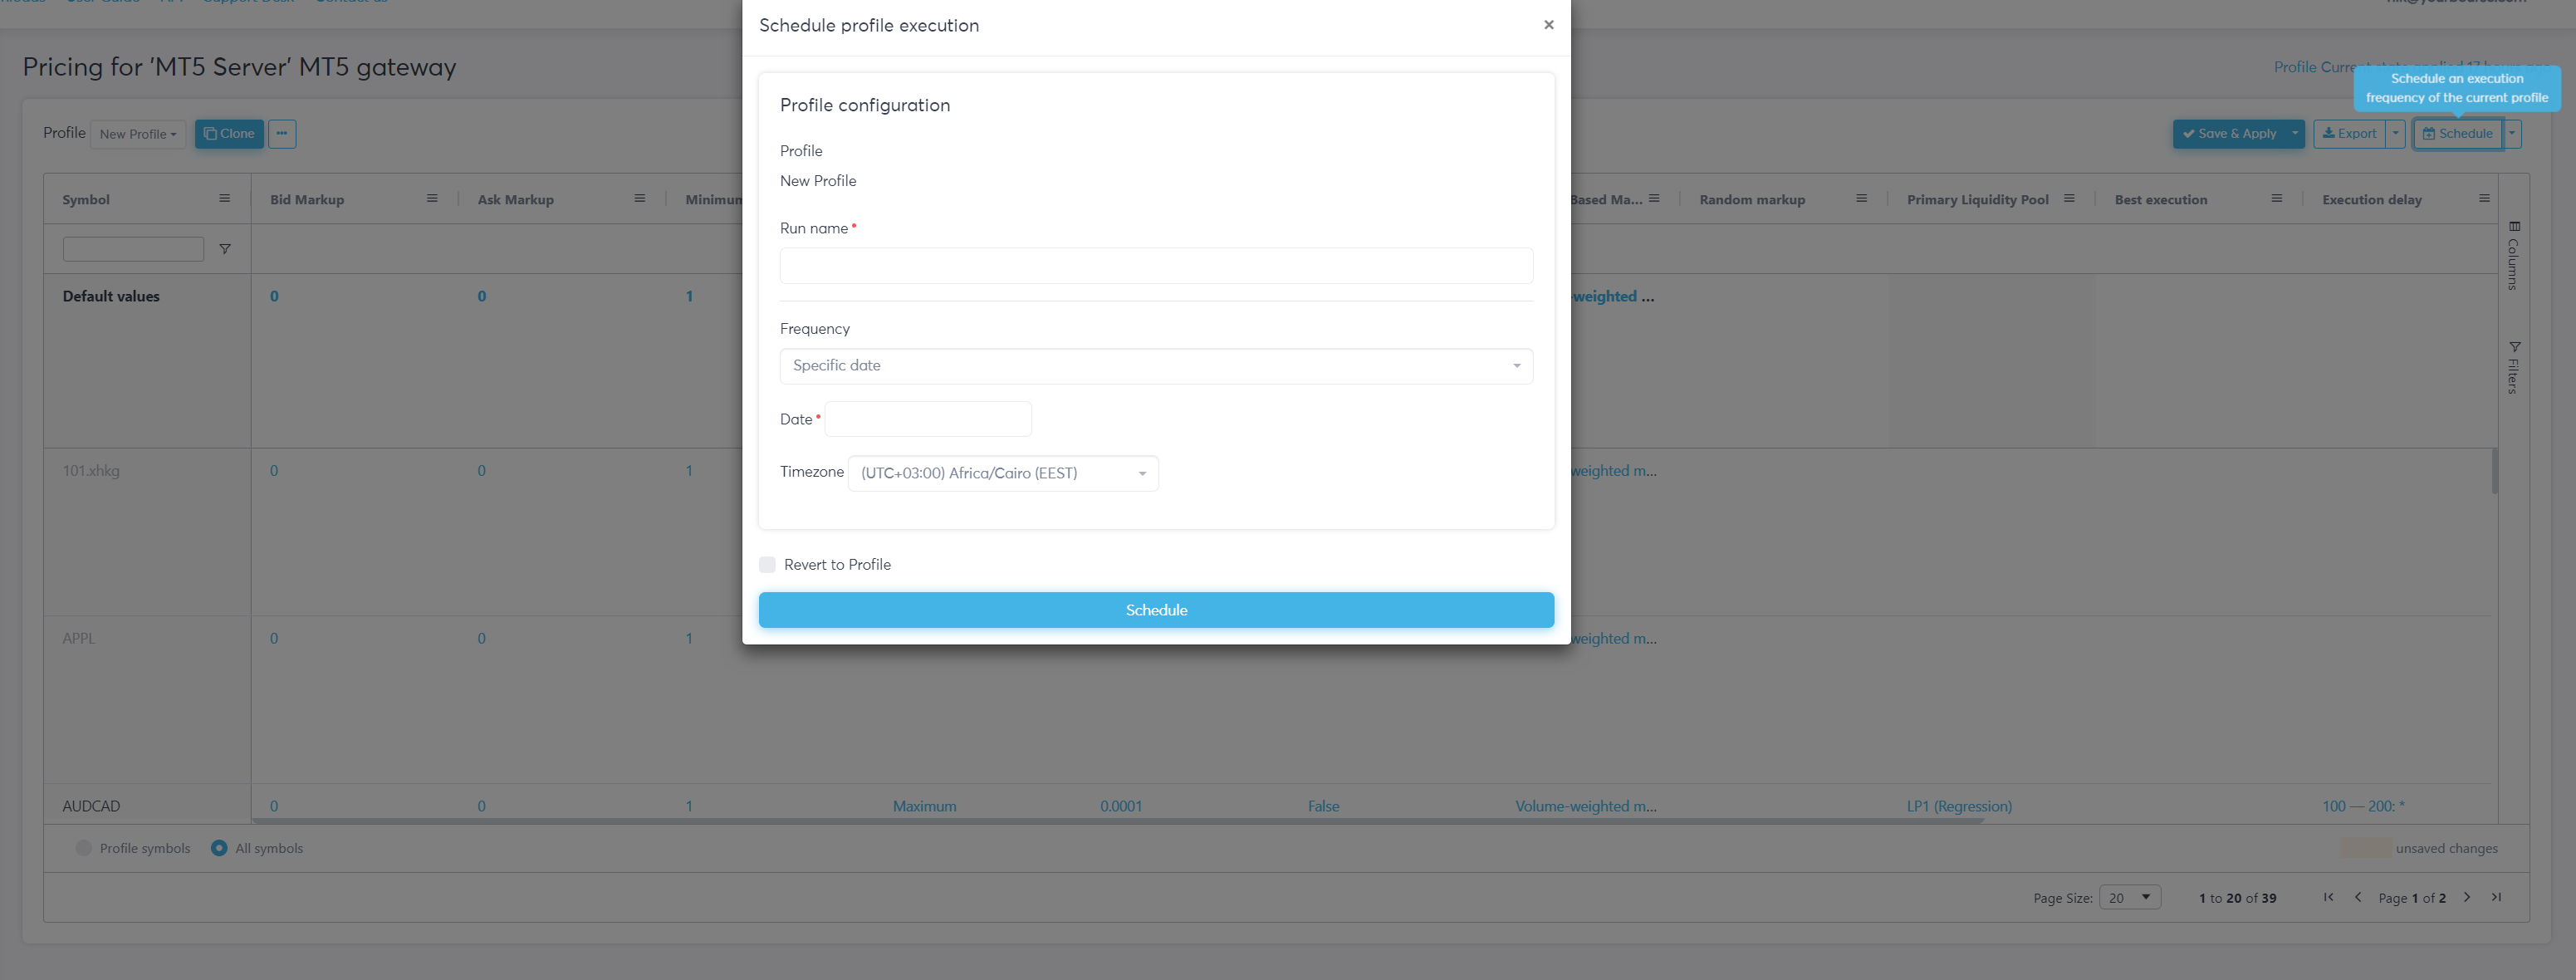
The “Run name” corresponds to the name the user wants to allocate to this schedule.
The “Frequency” button opens two drop down menu corresponding to the time period e.g. Minutes, Hourly, Daily, Weekly, and Monthly. The second menu corresponds to the frequency of application.
For example, the Profile 1 is scheduled to run every Monday at 17.00 (UTC+3 time zone)
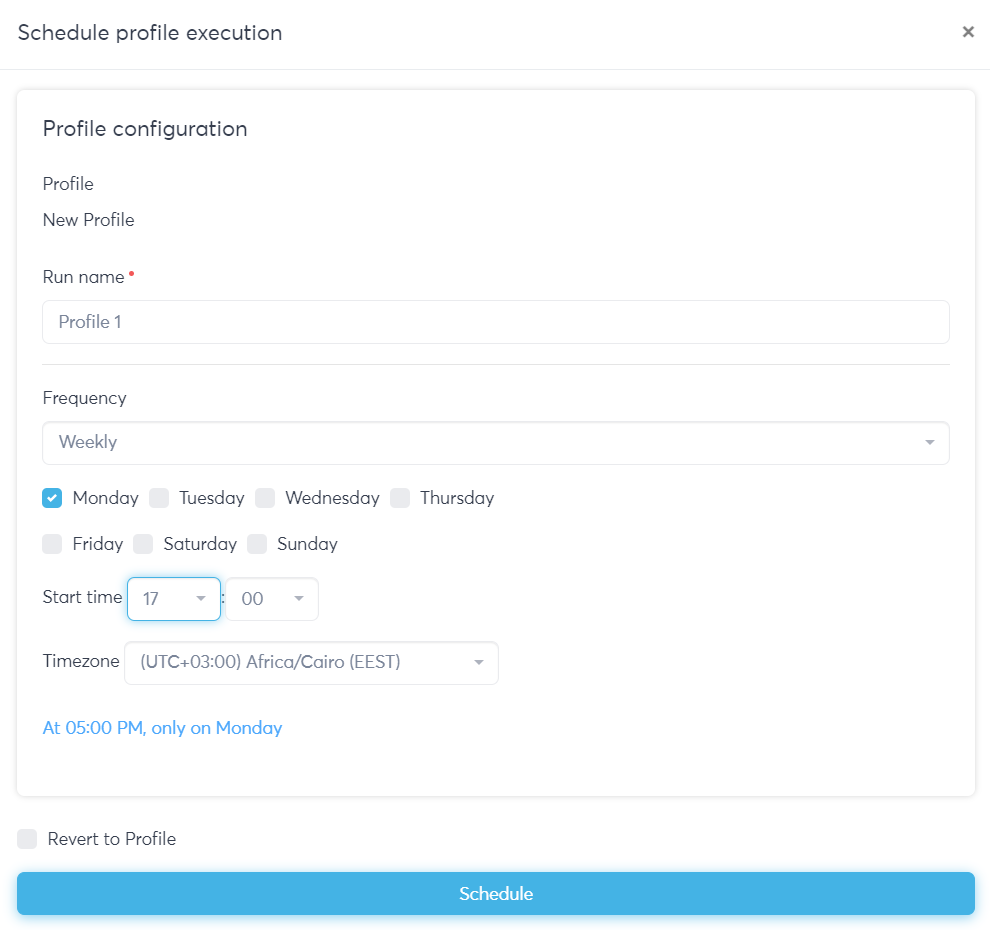
If the checkbox “Revert to Profile“ selected, the revert profile can be configured. The revert profile is a roll-back profile for the specified profile.
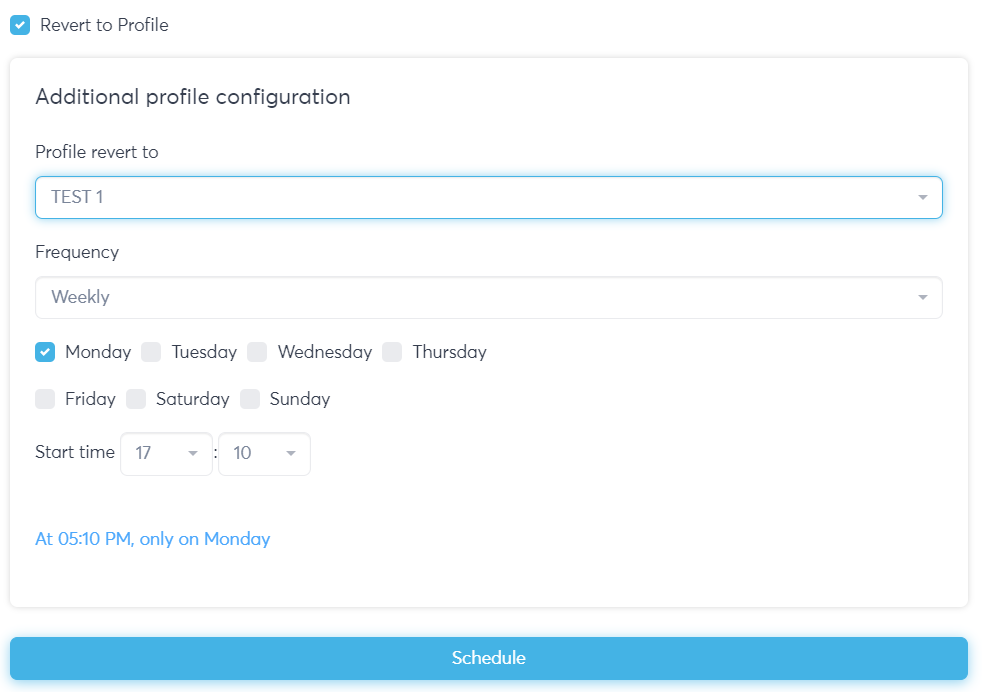
For the revert profile the following settings are available:
-
Profile revert to - choose the roll-back profile from the list of already existing profiles;
-
“Frequency” - opens two drop down menu corresponding to the time period e.g. Minutes, Hourly, Daily, Weekly, and Monthly. The second menu corresponds to the frequency of application.
For instance, on the screenshot above, the roll-back profile “TEST 1“ will start running every Monday at 17.10.
The “Schedule” button can be clicked to confirm the schedule.